I figured it was high time I added some people to my
knitting photography. I like my
mannequin, but after looking at a lot of pictures I noticed the ones with
people are invariably better. So I
signed up for a craftsy photography course and set to work. Unfortunately, the season came before I
finished the class, but I was determined to implement what I had learned thus
far. I’m sharing the lessons I learned
with all you other photography newbies… professional photographers enjoy the
laugh!
Seeing as Eco Chic Knits is still in its first business year
and the budget is tight, I ended up being the model. I roped my dad into being the
photographer. Hey, he took a class back
in the 70s, so he already knew more than I did.
And think about it, who would you rather see in women’s knitwear?
Lesson 1 – I read a lot of blogs and one suggestion was to
use props. I thought this was a
fantastic idea, since I was shooting some winter cowls as well as fall
cowls. However, beware of just what the
prop is adding!
 |
| Hi dad! |
Hi Dad! Don’t see him? Look
into my eyes, look deep into my eyes… or I guess I should say sunglasses. So instead I kept the sunglasses, but put them up, which for
me is S.O.P.

Lesson 2 – if, and that is a big IF, you choose to work with
animals, have patience. It took several
minutes to teach Puddles to stand on the rock.
 |
| Puddles |
Success, right? Well…
 |
| Puddles, I love you, but you're blocking my cowl! |
In the time it took my dad to snap the picture, something
distracted Puddles. His head is now
blurry and completely covering the cowl I was trying to feature. My dad said enough was enough, no more dog
shots. I don’t think it is totally
impossible to shoot with animals, but make sure you have the time (and the
treats) before you start.
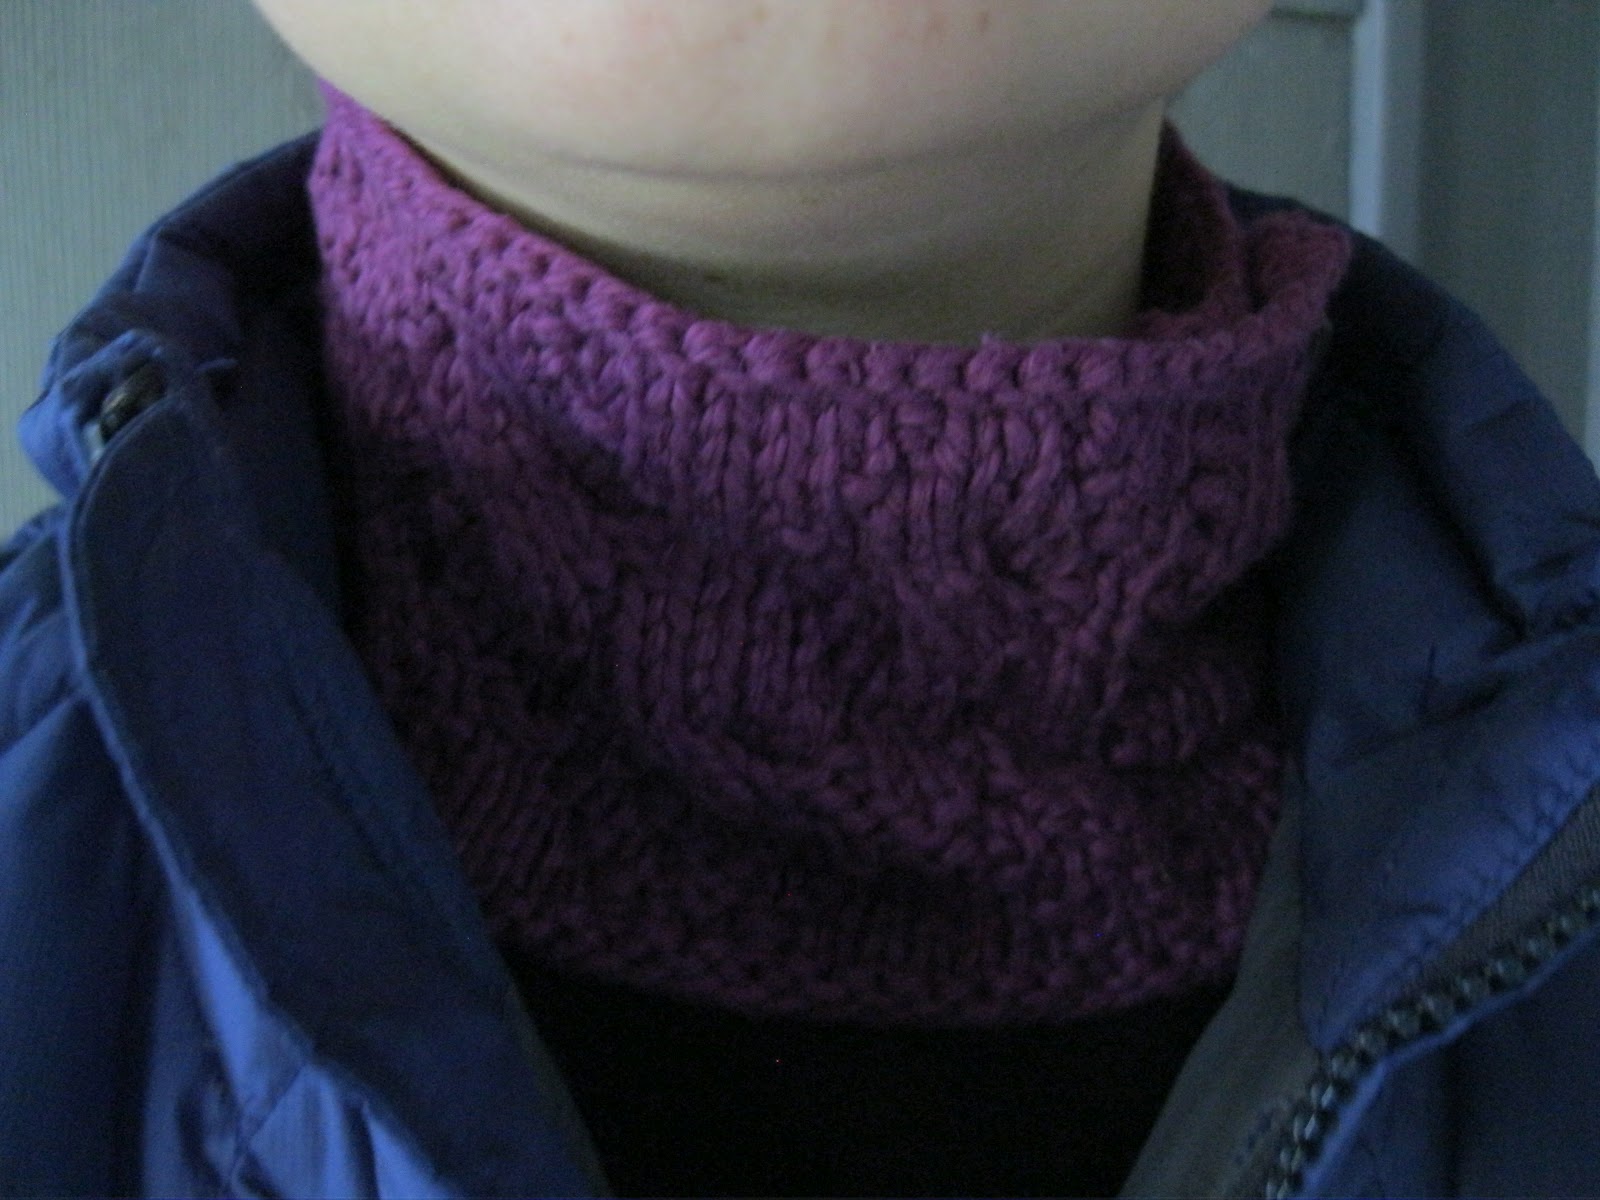
Lesson 3 – the knitting is the center of attention. Take the time to make sure it is lying
correctly.
 |
| Fall Twist Cowl (now available!) |
Lesson 4 – watch your eyes (smile, posture, expression)…
and pesky bra straps!
 |
| Is there anything right about this picture? I really don't think so. |
Unfortunately all the shots for my diagonal tank will have
to be redone. The sun was washing out
the color and we couldn’t find any more shady areas.
Boy, isn’t that rock wall the most interesting thing you
ever saw?
 | |
| Southern Christmas Cowl (working title) |
Apparently I thought so at the
time the picture was taken. Also notice
in this picture that the knitting is not completely lying correctly.
First I can’t keep my eyes off that interesting wall, then I
can’t seem to keep them open!
 |
| All is not lost! Off the Cuff Cowl |
Now this one you’d think would be worthless, but with the
aid of Photoshop I was able to make it work.
And since it was the best representation of the cowl, I cropped and kept
it.
Lesson 5 – Photoshop is your friend. Even meticulous I missed several fuzzy
unwanted additions. This is when a quick
clean up in Photoshop will save your sanity.
 |
| cropped and ready to go, or is it? |
Can you see all the unwanted lint?
What about that logo – who am I promoting anyway?
 |
| Here are just a few that I found |
Now you see them...

Lesson 6 – not everything can be fixed with Photoshop. Sadly, my camera man was standing a little
too close. No amount of editing will
bring back what was lost on the lower corner of this picture.
 |
| Tendrilled Fibonacci Cowl (working title) |
Lesson 7 – time of day.
This one really shocked me and continues to shock me. It seems to go against everything that seems
sensible to me. Full sunlight washes out
color. So picking the right time to take
your pictures will save you a lot of editing work.
 |
| early morning fog and a sunrise |
I woke up early just for the photo shoot today. But by the time I was presentable, and
Puddles was fed, played with, and pottied, it was just after 8 AM. Fortunately (and yes, I’m bragging here) the
setting is my backyard (give it up mountain life) so my commute didn’t eat up
any more perfect sun time.
The photo shoot lasted about 90 minutes – time to shoot 8
cowls, 1 sweater, and 1 tank. However, the
usable light lasted only about 45 minutes.
By the time the tank rolled around at the end, the sun was so bright; it
will have to be reshot. After the good
light was used up, my dad and I were scurrying around the yard (picture mice
with equipment) looking for the areas that were still usable as the sun encroached
upon my setting and washed me out with each passing minute.
 |
| I actually have a tan, but you'd never know it from this picture |
No, I didn’t just see a ghost of my Great Dane, Cheeky,
romping through the woods. That effect
is all the sun’s fault (and the position of the camera man and model in
relation to the rays).
Lesson 8 – this relates to the setting lesson. If setting is the macrocosm, then shadows are
the microcosm. You can have a wonderful
background, but if the light is hitting you wrong, you lose all your details to
the dark side. Don’t let this happen to
you!
 |
| Skier's Cowl (working title) |
Lesson 9 – I’m just gonna put this out there, please no harsh
comments… models wear spanx! It doesn’t
work to suck it in. I know because I
tried in my diagonal tank and am too embarrassed to post the outcome. Less offensive, but still in need of some
tummy tuck assistance is the cowl shot. If
it isn’t bad enough the unflattering “area” is accented with some fresh Dane
slobber.
 |
| Puddles attempts to stay in the picture by leaving behind his slobber |
When you choose to shoot with animals, you get the good with
the bad (yes, I’m trying to subtly change the subject).
Lesson 10 – know your camera! Take the time to get to know your camera
before roping someone in to help you with your photo shoot. If that person is the one taking the
pictures, lend him your camera so he can tinker with it before the shoot.
 |
| White washed by the sun |
Imagine if I were paying my dad for his time and these were
the shots we were getting. In the end,
we ended up changing to a camera he was more familiar with and things went much
faster.
By the way, this example also illustrates the need for
taking lots of pictures! My dad thought
lots was anything more than 5. But after
reviewing the shots on the computer, I saw many more errors than I did looking
through the cameras photo viewer. I
wonder how much less Photoshop work I’d have if I had more pictures to select
from.
I hope you enjoyed my lessons learned! I had a wonderful time with my dad and
Puddles during this shoot. For my final
lesson, which is of utmost importance, have fun.
If you are enjoying yourself, your pictures will convey that joy. So have fun, laugh at yourself, and relax. In the end the bad shots become the great stories
and the great ones become the shots that entice people into buying that pattern
(or finished object) you spent weeks creating.
P.S. this concludes my brief preview of my fall/winter cowl
line. Check back throughout the season
for the pattern releases. The “Fall
Twist Cowl” pattern is already available on my website, ravelry, etsy, and
craftsy. The cowl itself will be posted
for sale later this month. Next out will
be “Off the Cuff” pattern and cowl.
Love it! And really love the cowls! If I ever move back where it actually gets cold, I want one :-)
ReplyDeleteGreat tips :) I realized with my last shoot that I need Spanx. Sigh. Guessing it was Caro's class on Craftsy. I found it helpful and need my husband to watch it, too, since he's my photographer.
ReplyDelete